Charging the Air-Conditioning system

When the air conditioner does not work, the most common cause is an insufficient amount of refrigerant. The electronic system on the vehicle constantly controls the refrigerant pressure, and if it falls below the minimum value, it blocks the air conditioner from turning on.

Before checking the amount of gas, the service technician first gets acquainted with the air conditioning system in the technical documentation for that vehicle. The necessary data for air conditioning servicing are the number and location of refrigerant connections, the type and amount of refrigerant, and the type and amount of oil. Also, it gets acquainted with the recommended procedures for testing and charging.

Checking the correctness and charging of the air conditioner, the service technician should use protective equipment (gloves, glasses) and adhere to the prescribed safety measures.

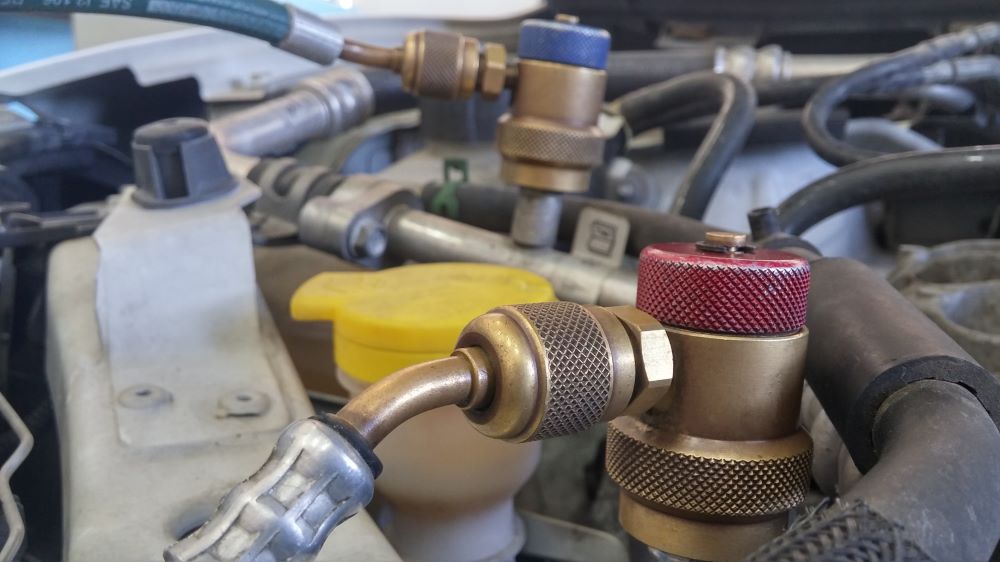
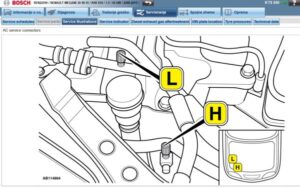
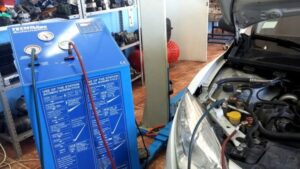
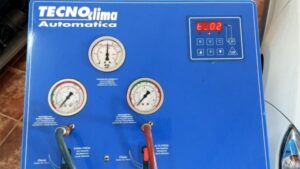
The air-conditioning station is used to check the pressure and charge. The AC station must contain the same type of refrigerant as the vehicle’s air conditioner. Different types of refrigerant must not be mixed. After locating refrigerant ports on the vehicle, the caps are removed and the connection to the AC station is made using hoses with special protective fittings. After connecting, the refrigerant from the air conditioner on the vehicle reaches the pressure gauge at the station.

The picture shows the connected connections of the station to the air conditioning refrigerant installation.

The resting pressure of the refrigerant should be equal on both sides of the system (low and high pressure), and the correct value ranges from 5 to 6 bar. If the pressure is lower, means that the amount of refrigerant is insufficient, and therefore the operation of the air conditioner is blocked.

If a lower refrigerant pressure is determined, the refrigerant is evacuated from the air conditioning system. The valves open, and discharge is activated. The refrigerant from the air conditioner is transferred to a station where it is cleaned, dried and stored in a bottle where the refrigerant is under pressure.

After extracting the refrigerant, the system is vacuumed. The required vacuuming time is 20 minutes. After that, the station automatically checks the tightness of the system by monitoring the vacuum condition for 2 minutes. In this way, larger system leaks can be detected. If a weaker vacuum leak is still suspected, the check can be extended up to 30 min. When the system loses vacuum during the check, it means that the system is open (defective), the station reports an error and does not allow filling the system with refrigerant because it would quickly leak out after filling. In that case, the approach is to find the place of leakage and repair the system. After the repair, the vacuuming procedure is repeated.

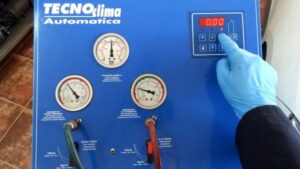
When the station after vacuuming determines that the system holds a vacuum, the filling procedure follows. Before filling, the cover of the engine compartment (engine hood) is lowered for safety reasons. First, the oil is put in. The amount of refrigerant oil depends on whether the system has been repaired and what has been done. If only filling is done without system intervention, a small amount of refrigerant oil (5 to 10 cm3) is inserted. Together with the refrigerant oil, a fluorescent dye is introduced into the system. When there is a refrigerant leak, that place is coloured and we can easily detect it using a UV lamp. After adding the refrigerant oil, the refrigerant is added. Based on the data from the technical documentation, the amount of refrigerant to be charged is programmed.

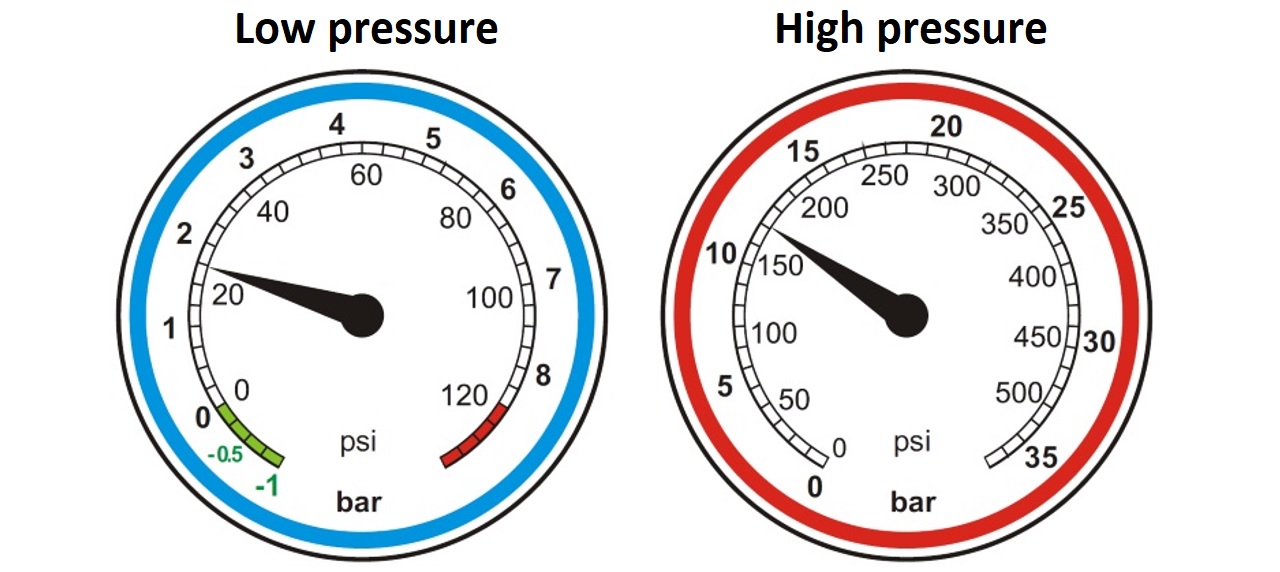
After charging the air conditioner, by closing the valve at the station, the gas systems of the station and the air conditioner are separated. It remains to check the correctness of the air conditioner during operation. The engine is started, the air conditioning is activated with maximum exhaust, and the rpm engine is raised to the value defined in the technical documentation. The refrigerant pressure is monitored on the station’s manometers. The expected value on the low-pressure side is around 2 bar, and on the high-pressure side between 10 and 15 bar.

The picture shows the correct working refrigerant pressures of the low-pressure and high-pressure sides of the air conditioner on the vehicle.

If the outside air temperature is high, the upper-pressure value can exceed 15 bar. For exact values, consult the data from the technical documentation for that vehicle.

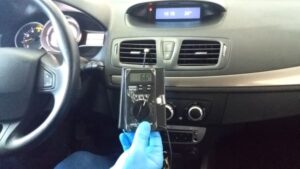
At the same time, the exhaust temperature inside the vehicle is checked. The cold air outlet opens only through the opening on the centre console. A thermometer is placed in the opening, and the temperature of the cold air discharge is monitored. In 60 seconds, the exhaust temperature should be between 6 – 8 °C.

If the refrigerant pressures and cooled air are within the set values, the air conditioner on the vehicle is working properly. The station’s connections are disconnected from the air conditioning system, protective caps are installed and the station is returned to its initial state.

If one of the parameters does not have the required value, a further air conditioner check is carried out until the fault is detected and eliminated.

To check the correctness and charge the air conditioner on the vehicle, follow the following steps:

Overview of the manual

In the technical documentation for a given vehicle, get acquainted with the technical data of the air conditioner (type of air conditioner, number and position of refrigerant connections, type and amount of refrigerant, type and amount of refrigerant oil, etc.). Read the actual values to check the air conditioner of the vehicle.

Air conditioner check

Prepare the vehicle for the air conditioner check. Prepare a station for testing and charging the air conditioner. Connect the station to the air conditioner and read the refrigerant pressure at rest. Based on the results reading, determine the next steps for working on the air conditioner.

Refrigerant evacuation

Prepare the station and the air conditioner for the safe evacuation of gas. Before evacuation, program the station for the entire process of vacuuming and charging the air conditioner. During the refrigerant evacuation, monitor the parameters at the station.

Vacuuming

Start the 20-minute vacuuming of the system. After vacuuming, the station monitors the vacuum condition in the air conditioning system for 2 minutes. When the system holds a vacuum, continue with the charging process. If the system loses vacuum, stop the charging process and begin to find and repair the system leak.

Charging the air conditioning

After vacuuming, the system is ready for charging. First, refrigerant oil with a fluorescent dye is added in the amount according to the manufacturer’s instructions and the type of air conditioning repair. Then the required amount of refrigerant is introduced. The station automatically shuts off charging when the specified amount of refrigerant is inserted.

Punjenje sistema auto klime stanicom za punjenje klime. Nakon vakuumiranje sistema obavlja se punjenje klime kao korak u postupku Punjenje auto klime

Air conditioner check

After charging the air conditioner, close the valves at the station. Start the engine, turn on the air conditioner at the maximum exhaust and maintain the engine speed at the required value. Monitor the movement of the refrigerant pressure at the station and measure the temperature of the exhaust inside the vehicle. If the measured values are within the specified limits, the air conditioner is correct. Otherwise, take further necessary actions to detect the malfunction.

See also

Video recommendation