Checking disc brake rotors
Checking the brake rotor involves visually inspecting the condition and measuring the thickness and lateral runout of the brake rotor. For proper brake disc operation and safe braking of the vehicle, all values must be within specifications.
Preparing to check
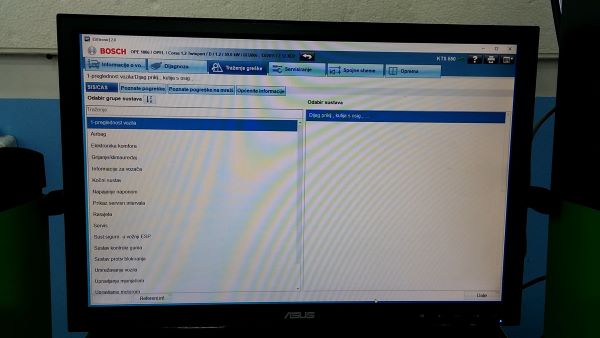
Before inspection and measurement, it is necessary to get acquainted with the specifications and limit values for a given brake rotor.
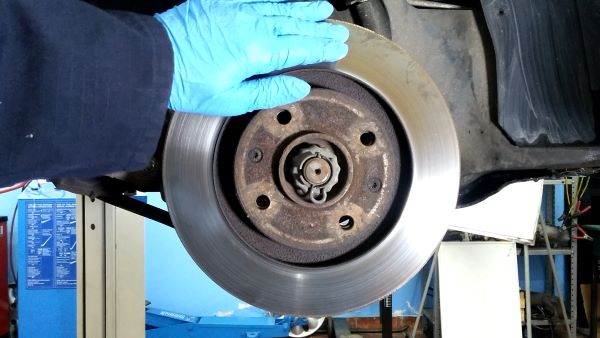
Visual inspection of the condition of the brake rotor
Visual inspection to check whether there are stains (cold or hot), fissures, cracks, and damage to the rotor surface. Any defect in the brake rotor affects the quality of braking and additional wear on the brake pads. Based on the size of the damage, a decision is made to replace the brake rotor.
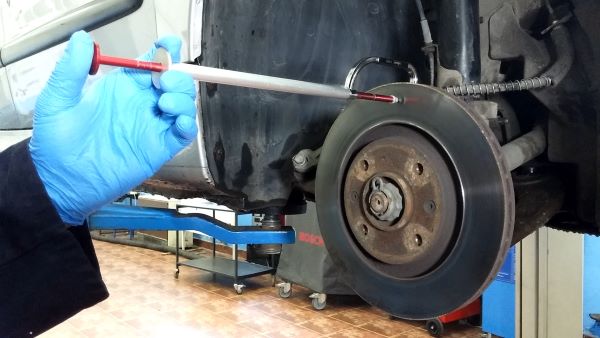
Brake rotor thickness measurement
After visual inspection, the thickness of the brake rotor is measured. Thinner brake rotors cannot accept the heat of friction generated during braking. Therefore the braking is weaker. Also, the variation in the thickness of the brake rotor during braking leads to the pulsation of the brake pedal and the shaking of the vehicle.
The thickness of the brake rotor is measured with a micrometer with a deeper frame, a movable gauge (caliper) with protruding calipers, or a special disc thickness gauge. The measurement is performed in 5 to 8 places. The minimum measured rotor thickness must not be less than specified in the specification. If the measured varying thickness on the brake rotor, the difference between the largest and smallest measured thickness should not be greater than the value of the variations given in the specification.
If the thickness and variations of the brake rotor are outside the specified values, the brake rotor must be replaced.
Brake rotor thickness check
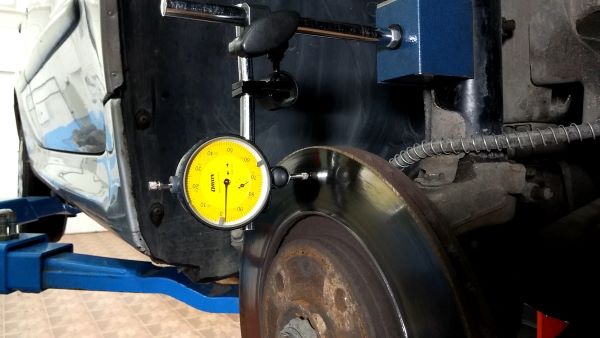
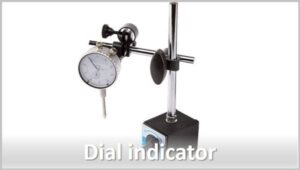
Measuring lateral runout
Finally, the flatness of the rotor surface is checked. Excessive lateral unbalanced rotation can cause the brake pad to touch, causing the steering wheel to vibrate, brake with the brake pedal released, scratching and whining while driving, heating the brake rotor and pad, uneven pads, and rotor wear. The measurement is performed with a comparator on the outer surface of the brake rotor.
To check disc brake rotors, follow these steps: