Voltage output testing
Voltage output testing of the alternator is a procedure for checking the operation and condition of the system for charging the battery and supplying it with electricity.
Whenever there is a problem with the charging system, check the battery first. The charging system cannot be expected to perform well when the battery is bad. Alternators are designed to maintain a battery charge, not to charge a dead battery. The battery must be in good condition to obtain accurate alternator test results. In addition, the battery must be fully charged before proceeding with the charging system diagnostics.
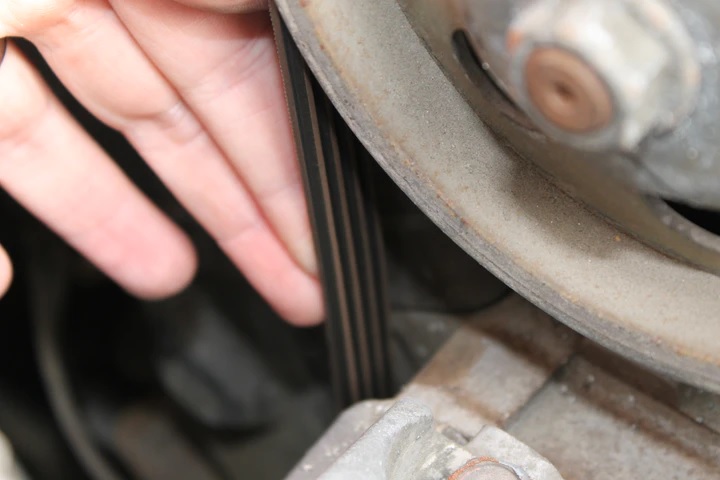
Before testing the alternator, check the condition of the drive belt, tensioner, and pulleys.
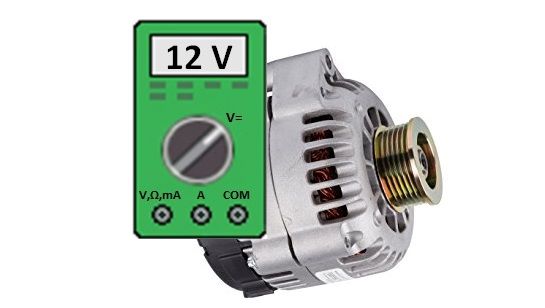
The next step is to test the output voltage. The voltage output test of the alternator serves to check its correctness quickly. Voltage measurement is performed with a voltmeter on the poles of the battery without and with the load.
First, the voltage output is measured without load at an engine speed of 1500 to 2000 rpm. The alternator voltage output should be between 13.5 and 14.5 V. If the voltage is lower or higher, the charging system is not working properly, and the fault needs to be found and corrected.
After a successful preliminary measurement, the voltage output is measured under alternator load (turn on the headlights and the heater fan motor at maximum speed). The expected voltage output at 2000 rpm should be about 0.5 V or 2.5 V higher than the battery voltage value when the engine is off. If the voltage increases, the charging system works well. If the voltage does not increase, continue testing to determine the fault.
When the charging voltage is too high, there may be a problem in the following areas:
- Poor voltage regulator connection.
- High transient resistance between the battery and the voltage regulator (regulator) or PCM (for new alternators with pulse code modulation).
- Short to ground in the coil control circuit, which creates a strong magnetic field in the alternator.
- Faulty voltage regulator or PCM.
- Loose or corroded battery terminals.
If the charging voltage is too low, the error may be:
- Loose or worn drive belt.
- Discharged battery.
- Loose or corroded battery terminals.
- Defective alternator.
- Faulty voltage regulator or PCM.
On newer vehicles, it is possible to use a diagnostic device to record the voltage output of the charging system. Most ECU-managed charging systems use a battery voltage sensor to determine the state of charge of the battery. The sensor serves to determine the alternator voltage output. When the ECU cannot use the charging system properly, it stores an error code. In this case, follow the appropriate diagnostic protocol for the stored fault code to determine the cause of the fault. However, ECU does not recognize some mistakes. For example, if the measuring circuit had too much resistance due to a bad connection, the ECU would increase the output of the alternator until it reached the desired voltage level. When the ECU receives information from the sensor that the voltage is correct, it does not recognize the fault and does not store the error.
To measure the alternator output voltage, follow these steps: