Disassembling and cleaning a cylinder head

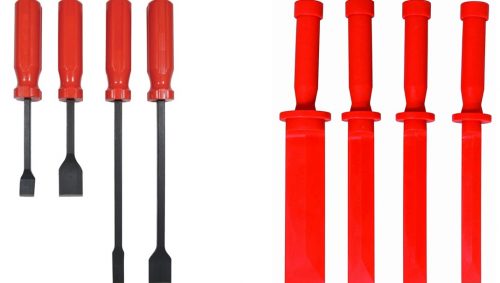
After removal, it is necessary to disassemble and clean the cylinder head for the inspection and repair process to be more efficient. You cannot have a good repair on the cylinder head if there are pieces of sludge and dirt that cover the damage or constantly fall into the inspection and repair area. Cylinder head cleaning usually involves mechanical cleaning with a scraping tool, such as a gasket scraper. Aluminum heads are scraped with a non-metallic tool such as a plastic or silicone scraper.

Metal and plastic scraper set

Gasket Scraper Set

In most cases, the disassembled cylinder head must be chemically cleaned in a spray tank, hot tank, cold tank, ultrasonic cleaner, or specially designed oven.
Follow the equipment manufacturer’s recommendations when using a particular type of cleaner.

To disassembling and cleaning a cylinder head, follow these steps:

Checking and washing the cylinder head

Perform a visual inspection of the head for damage. Thoroughly wash the cylinder head from oil and dirt, by hand or in a washing container. After washing, allow the cylinder head to drain and dry.

Gasket removal

On the cast iron head, cleaning is done with a flexible abrasive pad or scraper. If it is an aluminum head, use plastic or silicone scrapers. Apply the manufacturer’s recommended procedure for cleaning joints.

Valve removal

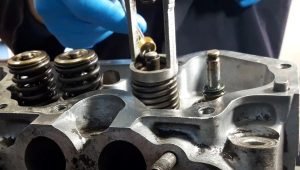
Using a suitable tool, compress the valve spring and remove the fuse. Remove the spring retainer and valve spring. Fuses and springs disposed of inboxes. Remove the valves and place them on a special plate for disassembling the head with the marked order of the cylinders.

See also

Video recommendation